Diary of a lockdown home brewer part 5: Get the beer in some bottles and beg they don't explode
and live on Freeview channel 276
For the last five weeks I have been writing about my experience making a Christmas stout.
This week is about bottling the beer. At least that’s what I am calling it for the time being, until the tasting next week where I may be proved wrong.
Advertisement
Hide AdAdvertisement
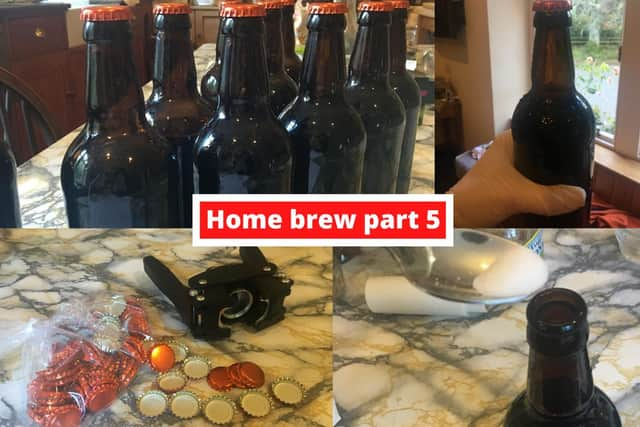
Hide AdYou will need a bottling siphon, empty glass bottles (ideally 500ml), bottle caps, a bottle capper and some sugar.

Last week I covered the fermentation process during which the yeast worked its magic converting sugars from barley into alcohol.
Once fermentation is finished, which should be after about seven days when using a home brew kit, it will be ready to bottle. I, however, ended up leaving mine for 12 days because the yeast wasn’t working as planned. The reason? I am still not entirely sure.
So, it turns out I have quite a lot of the sugars in my beer that the yeast are not eating. Yes, it’s meant to be a rich, festive-flavoured stout. But, at this rate, it might end up being a bottle of sickly-sweet treacle.
Advertisement
Hide AdAdvertisement
Hide AdAfter leaving it for about a fortnight, almost double the recommended timescale, I decided to bottle it. This was partly down to impatience, but also because I had no idea what else to do with it.

Explosion
There is a risk, when bottling a home brew with a higher sugar content than planned, that the yeast will continue to ferment the sugars and the bottles will explode. I mentioned this in part 4, but luckily it hasn’t happened… yet.
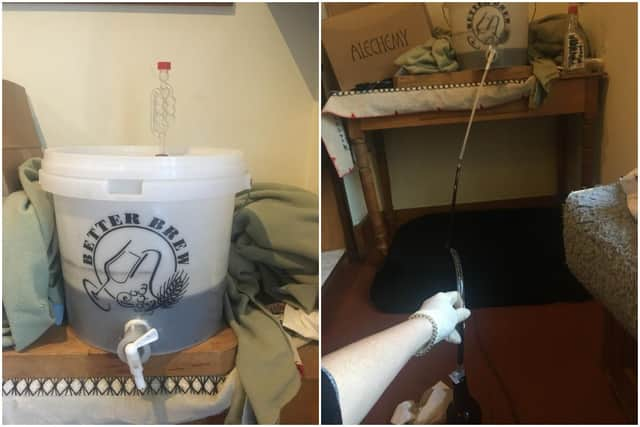
From my slightly limited research, it is generally suggested that you should not let too much oxygen into the beer when bottling it. To avoid this, you can buy a bottling siphon - a tube that you stick into the tap in order to release your beer from the bucket with the other end poking in the bottles (see pictures).
As mentioned in the first piece on kit, you need a good stash of empty and sterilised 500ml glass bottles to put your beer into, unless you would prefer to drink out of miscellaneous objects. Take your pick. Just make sure they’re sterilised and can firmly close with no air gaps (no shoes).
Advertisement
Hide AdAdvertisement
Hide Ad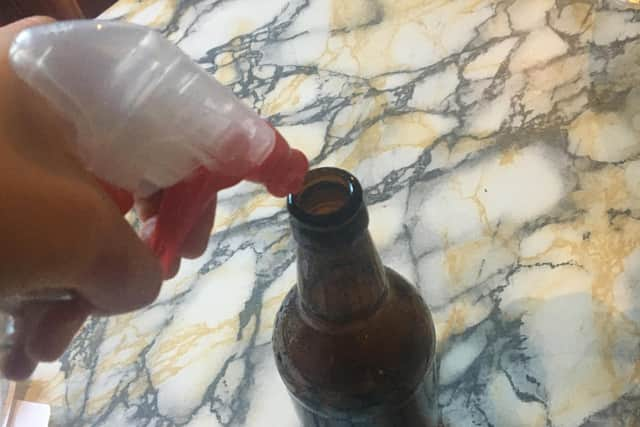
I went to my local brewery, Spey Valley, and received an odd look when I asked for empty beer bottles. I explained I was embarking on a home brew, which led to a much-needed educational discussion on making beer. I stupidly didn’t write down most of this precious advice at the time and subsequently forgot most of it when faced with my home brew once again back in my kitchen. I didn’t come home empty handed though. I staggered through my front door hugging a case of Spey Valley’s delicious brews - it has a new Imperial Milk Stout finished in traditional whisky barrels from WM Cadenhead, Scotland’s oldest independent bottler. I am saving this one for the day I taste my own, either as a treat or to drown my sorrows, depending on the outcome.
Back to the bottling process
Using the bottling siphon, you transfer the brew from the fermentation bucket into your sterilised bottles (see picture). I would leave up to about an hour to do this. I sprayed each bottle and cap with non-rinse sanitiser just before using it to make sure no pesky bits of unwanted bacteria were in the way.
Isn’t it sweet enough?
When the bottles are ready, spoon about a quarter of a teaspoon of sugar into them. I know you’re probably thinking why add more sugar if you already have too much, ain’t it sweet enough? It certainly is, but you need a little bit of added sugar at this stage to help the beer carbonate.
Once the siphon is set up, release the brew from the bucket’s tap and get filling those bottles.
Advertisement
Hide AdAdvertisement
Hide AdIn my case, it was a bit of a wobbly balancing act. The siphon I ordered was incredibly long for some reason and it’s not something you can bend, otherwise the liquid won’t pass through. I stretched my arms to their limit holding the other end of the siphon in the bottles far away from the bucket.
I couldn’t reach the tap, which posed an issue when I needed to turn it off between filling the bottles, so there was a fair bit of spillage.
If you find yourself in a similar conundrum, definitely get someone else to help you. I didn’t have that luxury.
Never assume
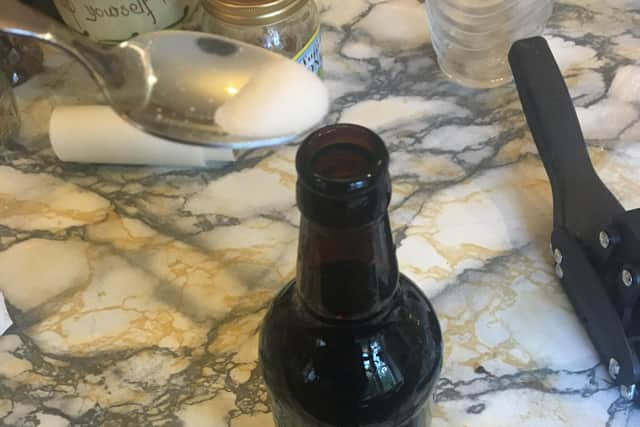
Another one of my errors at this stage was not filling up the bottles enough.
Advertisement
Hide AdAdvertisement
Hide AdWith the potential risk of an explosion occurring, I made the error of assuming that leaving a little more room at the top would be a good idea in case the beer decided to keep fermenting and swell up.
One important lesson I have been given in life is “never assume”. Why, oh why, did I ignore that at this point in time? It turns out, after reading about what I had done when it was far too late, that leaving too much room in the top of the bottles means the beer will oxidise and there’s a chance it will end up tasting like vinegar. I didn’t have high hopes for this brew from the offset, but now I am wondering if it’s going to taste anything like a beer at all. I have bets on chocolate gloop a la vinaigrette. At least that has a ring to it.
One positive thing that came out of this slightly bittersweet stage is the bottle capping part is quite satisfying, and relatively fun when most things up until now have gone wrong. You insert the bottle cap into a slot in the tool (pictured), balance it on top of the bottle and push down a pair of arms, similar to those on a wine bottle opener, and voila.
If you’re more a taste-over-presentation kind of person (which I reckon everyone should be), then this beer probably won’t be for you.
Advertisement
Hide AdAdvertisement
Hide AdI’m coming round to the harsh reality that my wannabe Christmas stout might not be suited to the role of a Christmas gift after all, but instead, like coal, a penalty for those who have been bad this year.
I read varying bits of information on how best to store your beer once it’s bottled. The general consensus was in a room that’s not too warm, but not too cold. Helpful. I went with keeping mine in the kitchen for a couple of days where it’s warm, before transferring them into an outdoor shed where the boiler is. It’s also a location where the beer is best placed if an explosion is to happen in the next few days. A sign on the door currently reads “enter at own risk” with no explanation as to why.
Next week will be about tasting the beer, provided the bottles don’t burst between now and then. I am looking forward to it, but also anticipating a beer so sweet it will leave me feeling bitter about the home brew experience.